How long it lasts: I had the original Silver White Navy for a couple of days and then I got bored with the design. It was my fifth day and the nail polish was still okay with some tiny invisible peel off at the edges of the point and thumb fingers. So I desided to refresh the nail polish and add some floral style.
To cook this look you need:
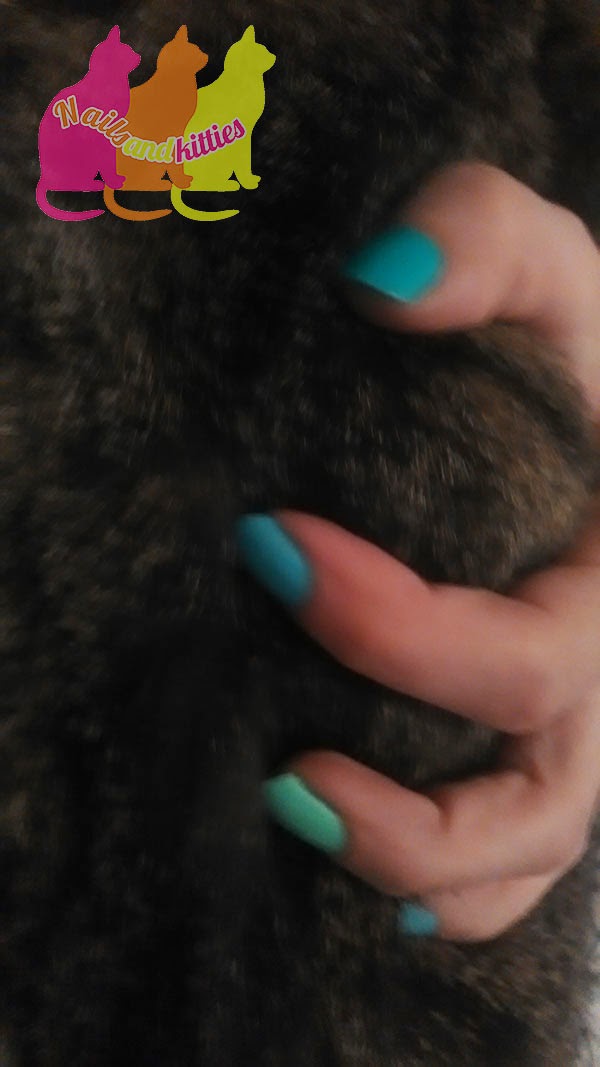
- Three kitties
- The products from Silver White Navy (Story 1 of 2)
- Thick nail polish (I got blue)
- Stamper
- Top coat
Steps:
- Follow the steps from Silver White Navy (Story 1 of 2)
- Apply the stamps
- Apply the top coat