Tuesday, February 3, 2015

Gray On Kitties: Shiny (Story 1 of 3)

This is the first step of the Nails Series. In other words, how with a little effort you can change the look and feel of your nail polish.


To see the rest of the Gray on Kitties, visit:

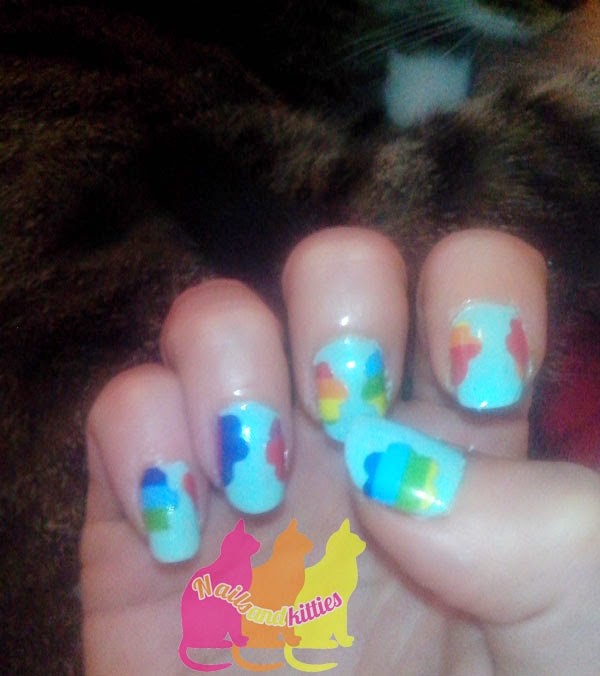
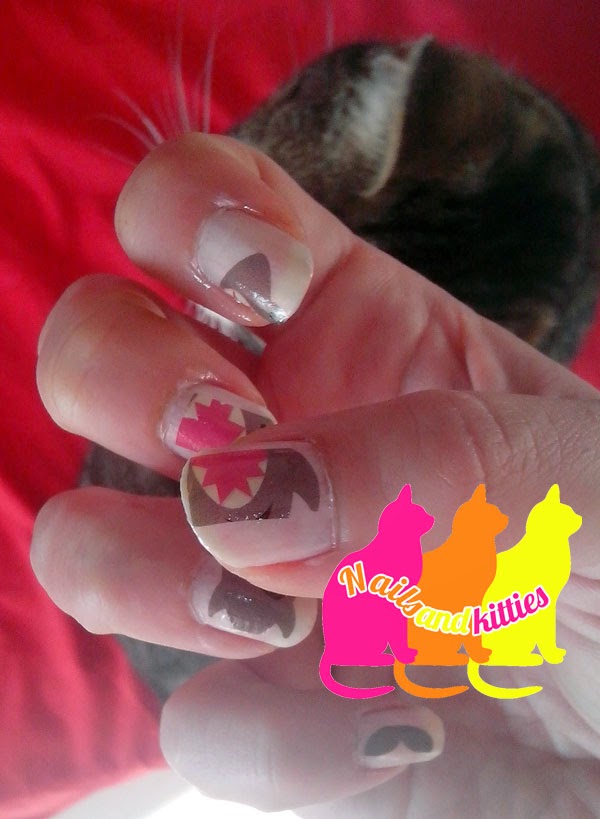
What makes it special: The key in this nail design is in the density of the glitter-hexagon and the right combination. Gray takes some of the shine and at the same time the pink brightens it. The light colours or the white hexagons add mosaic texture.


How long it lasts:
Generally it depends on the base and the base colour you choose. My L'Oreal lasts about 2-3 days. Usually the glitter and hexagon nail polishes straighten the base layers. In this case the gray is darker and the peels are clearly visible (to me) but the hexagon texture adds the effect of the light dots so basically it will give you another day or two with this design.

To make the gray you need:
  • 3 kitties
  • Base coat
  • Gray nail polish
  • Glitter-hexagon nail polish in light pink, light orange and light green or white.
  • Top coat (optional)
Steps:
  1. Apply the base coat. Wait to dry.
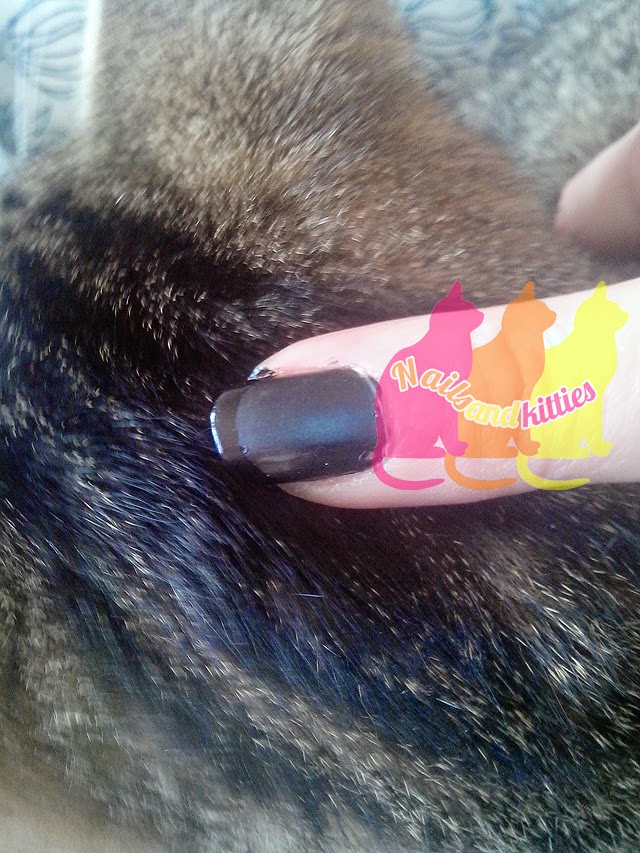
  2. Apply two layers of gray nail polish. Wait to dry.
  3. Apply a layer or two of the glitter-hexagon nail polish. 
  4. (Optional) You can apply top coat which will work as a glue for the rugged edges from the hexagon figures.

Monday, February 2, 2015

Rainbow Kitties in February

The initial idea was to apply simple rainbow stickers. When I did the first nail, my pinky, it turned out that the stickers are too thick and the plastic doesn't curve well enough to stick to my nail. In addition this design looks okay but once on the finger it turns out the stripes are too wide and I could fit two nails on one sticker. I pressed for a couple of minutes and then I gave up.

What makes it special: The rainbow colours.

How long it lasts: About a day. The stickers I used were kind of crappy and their edges started to peel off on the very first day.

To make the rainbow colour you need:
  • 3 kitties
  • Rainbow stickers
  • Base coat
  • Nail polish in color different than those you already have on your rainbow
  • Top coat
  • Punch press - in my case I have a flower but I believe that other shapes like hearts, stars or simple dots will work fine too
  • Scissors (optional)
Steps:
  1. Apply the base coat. Wait to dry.
  2. With the punch press make your rainbow flowers. You need 10 flowers.
  3. (optional) you can cut these into two or keep them intact as a whole flower. I chose to cut them.
  4. Place the stickers on your nails. 
  5. Apply top coat, or even two layers of top coat because thе sticker's edges 


Sunday, February 1, 2015

Winter Pirates and Cat Vikings

These winter pirates are not vikings but they look just fine.

What makes it special: The water tattoos you are going to use

How long it lasts: It depends it you are willing to apply top coat. The water tattoos I used were sort of easy to peel off. The top coat adds extra days for them on your nails.

You need:
  • 3 kitties
  • Base coat nail polish
  • White nail polish
  • Top coat (optional)
  • Water stickers/tattoos
To cook this look you need:
  1. Apply the base coat
  2. Apply two coats of white nail polish. Wait to dry.
  3. Meanwhile cut the water stickers into pieces so it can fit your fingers.
  4. Apply the water stickers according to the instruction. In my case I had to put the water sticker and press each piece for 30 seconds. 
  5. Apply top coat
Cat tip:
Use white nail polish because it will give better base for the water sticker. White makes good contrast.


Saturday, January 31, 2015

Shark Tail And Cat Tale

Cats presumably like fish and here is a nice dinner look! We've tried the shark fin soup once and it wasn't as bad as expected. Same with the nails...

What makes it special: The water tattoos you are going to use

How long it lasts: It lasted about 15 minutes because I was late for a meeting so the moment I started putting my shoes on, I damaged the design on my thumbs. My bad.  

You need:
  • 3 kitties
  • Base coat nail polish
  • White nail polish
  • Top coat
  • Water stickers

To cook this look you need:
  1. Apply the base coat
  2. Apply two coats of white nail polish. Wait to dry.
  3. Meanwhile cut the water stickers into pieces so it can fit your fingers.
  4. Apply the water stickers according to the instruction. In my case I had to put the water sticker and press each piece for 30 seconds. 
Cat tip:
Use white nail polish because it will give better base for the water sticker. White makes good contrast.


Friday, January 23, 2015

Chameleon Cats

For this ultimately simple design you need:
  • 3 kitties
  • Base coat nail polish
  • Chameleon nail polish
To cook this look you need:
  1. Apply the base coat
  2. Apply two coats of chameleon nail polish. 
  3. Wait to dry. 

Thursday, January 22, 2015

Work In Progress: Nail Protectors

Here is how to protect your fresh and wet nail polish from fluffy damage:

You need:
  • Three kitties
  • Nail polish
  • Nail protectors


Wednesday, January 21, 2015

Black Matte Mix

This is a mixture of different approaches to black. Initially I planned to have only the shiny French on
matte black. Then I saw the caviar in my box and then it all got mixed. 

What makes it special: The mix of matte and shiny all created with black

How long it lasts: About three days. I find the caviar very hard to handle. 

To cook this look you need:
  • 3 kitties
  • Base coat (optional)
  • Black nail polish
  • Matte nail polish
  • Top coat
  • Dotting tool or anything that helps you make dots (optional)
  • Nail caviar in black
  • French tips tape (optional)


Steps:
  • Apply base coat (I do it, otherwise the nail becomes very dark because of the black nail polish) and wait to dry
  • Apply one layer of black nail polish and wait to dry

Caviar:

  • Having the first layer of black nail polish, select which fingers do you want to have the caviar.
  • Apply second layer of black nail polish on one of them.
  • Immediately - while still wet dip the nail in the caviar glass/box
  • Carefully press the caviar pigment to the nail. The wet nail polish works as a glue.
  • Apply top coat. It will help the caviar stay there.
  • Repeat with other finger(s)


Then apply second layer of black nail polish to the rst of the fingers and wait to dry.

Water drops effect:

  • Apply a coat of matte nail polish on selected fingers. Wait to dry.
  • Dip the dotting tool in the black nail polish and make small dots with it on the matte nails. (optional) Alternatively you can make drops with the nail polish brush but this never works with me. 

French Matte:

  • Apply a coat of matte nail polish on selected fingers. Wait to dry. Seriously. Wait to dry.
  • Put the French tip tape (optional) or draw a line with the black nail polish